
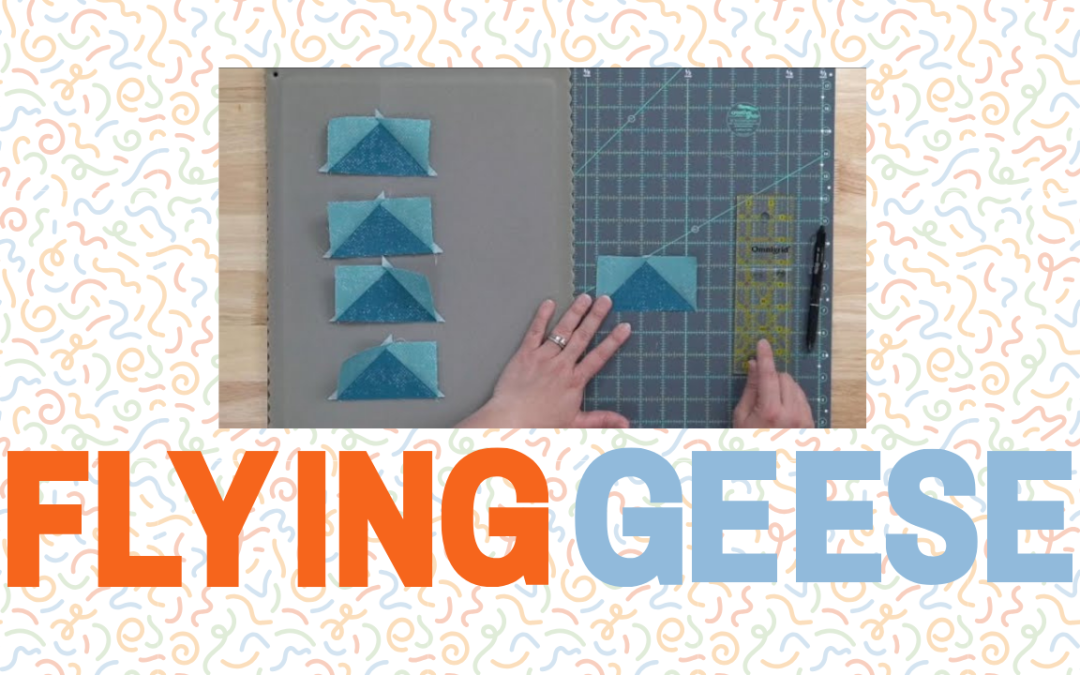
Flying geese blocks are a staple in quilting, but they can be intimidating for beginners. Today, we’re going to walk you through the process of creating both single and multiple flying geese blocks efficiently. With these tips and tricks, you’ll be able to achieve perfect piecing every time.
Why Flying Geese Can Be Challenging
Many quilters find flying geese challenging because they require precision and accuracy to maintain those sharp points. However, with the right techniques, you can master this block and enhance your quilts with ease.
What You’ll Need
Before starting, gather these essential supplies:
- Fabric for the Base and Triangles: Choose contrasting colors for visibility.
- Rotary Cutter and Ruler: For cutting fabric accurately.
- Scissors: For trimming threads and small pieces of fabric.
- Pins: To hold fabric in place while sewing.
- Erasable Marking Tool: For drawing diagonal lines without leaving residue.
- Sewing Machine with a General-Purpose Foot: Ideal for precision sewing.
Watch the Tutorial
Want to see these steps in action? Check out our YouTube video tutorial: How to Sew a Perfect Flying Geese Block. In the video, we demonstrate each step in detail, from preparing your fabric to finishing touches. Don’t forget to like and subscribe for more quilting inspiration!
Step 1: Preparing Your Fabric
- Cutting the Fabric: For a 2x4 flying geese, cut two triangles (2.5 inches x 4.5 inches) and one base piece (2.5 inches x 4.5 inches).
- Marking the Fabric: Draw a diagonal line across each triangle using an erasable marking tool.
Step 2: Sewing the First Triangle
- Aligning the Triangle: Place one triangle right sides together with the base piece, aligning the diagonal line with the edge of the base.
- Sewing the Triangle: Sew along the diagonal line, just to the right of it, to ensure a smooth press later.
- Trimming Excess Fabric: Cut ¼ inch away from the seam to reduce bulk.
Step 3: Pressing and Adding the Second Triangle
- Pressing the Seam: Press the seam to set it, then flip it back to create the flying geese shape.
- Adding the Second Triangle: Align the second triangle with the base, ensuring it mirrors the first triangle. Sew and press as before.
Step 4: Squaring Up Your Flying Geese
- Using a Ruler: Use a ruler with a 45° mark to ensure your flying geese is square and the points are centered.
- Trimming to Size: Trim excess fabric, maintaining a ¼ inch seam allowance above the point.
Making Four Flying Geese at Once
For efficiency, you can make four flying geese simultaneously:
- Stacking Fabric: Place two sets of triangles right sides together and draw a diagonal line through both.
- Sewing Both Sides: Sew ¼ inch away from the diagonal line on both sides.
- Cutting Apart: Cut along the diagonal line to separate the pieces.
- Pressing and Trimming: Press each piece and trim to size as before.
Tips for Success
- Always press your seams as you go to reduce bulk and ensure a smooth finish.
- Use a walking foot or even feed foot on your sewing machine to help guide the fabric smoothly.
- Practice joining strips and sewing corners on scrap fabric before working on your quilt.
With these steps and tips, you’ll be able to create perfect flying geese blocks that enhance your quilts. Whether you’re a beginner or an experienced quilter, mastering this technique will take your projects to the next level.
For more quilting tutorials and inspiration, don’t forget to check out our YouTube channel—happy quilting!