Starting your first sewing project can seem daunting when you’re new to sewing. Sometimes it isn’t easy deciding where to get started! We’re here to help! In this blog post, we’ll take you step-by-step through one of the easiest projects: Sewing a pillowcase! It isn’t as difficult as you think, and this tutorial will help you get started quickly. We’ll walk you through the entire process, from start to finish, and explain everything along the way. So don’t wait any longer. Follow along with this step-by-step tutorial and learn how to sew a pillowcase in no time at all!
Supplies:
- ¾ a yard of fabric (main body)
- 2 inches of fabric (trim)
- ⅓ a yard of fabric (cuff)
- general purpose thread
- Rotary Cutter
- Sewing Ruler
- Cutting Mat
- Sewing Pins
- Your sewing machine, of course!
Learn how to thread and load your machine when you visit our blog or the video below!
Getting Started:
Step 1: Take our fabrics (all 3) and cut them down to size
This step is essential as it’ll help keep your pieces nice and square.
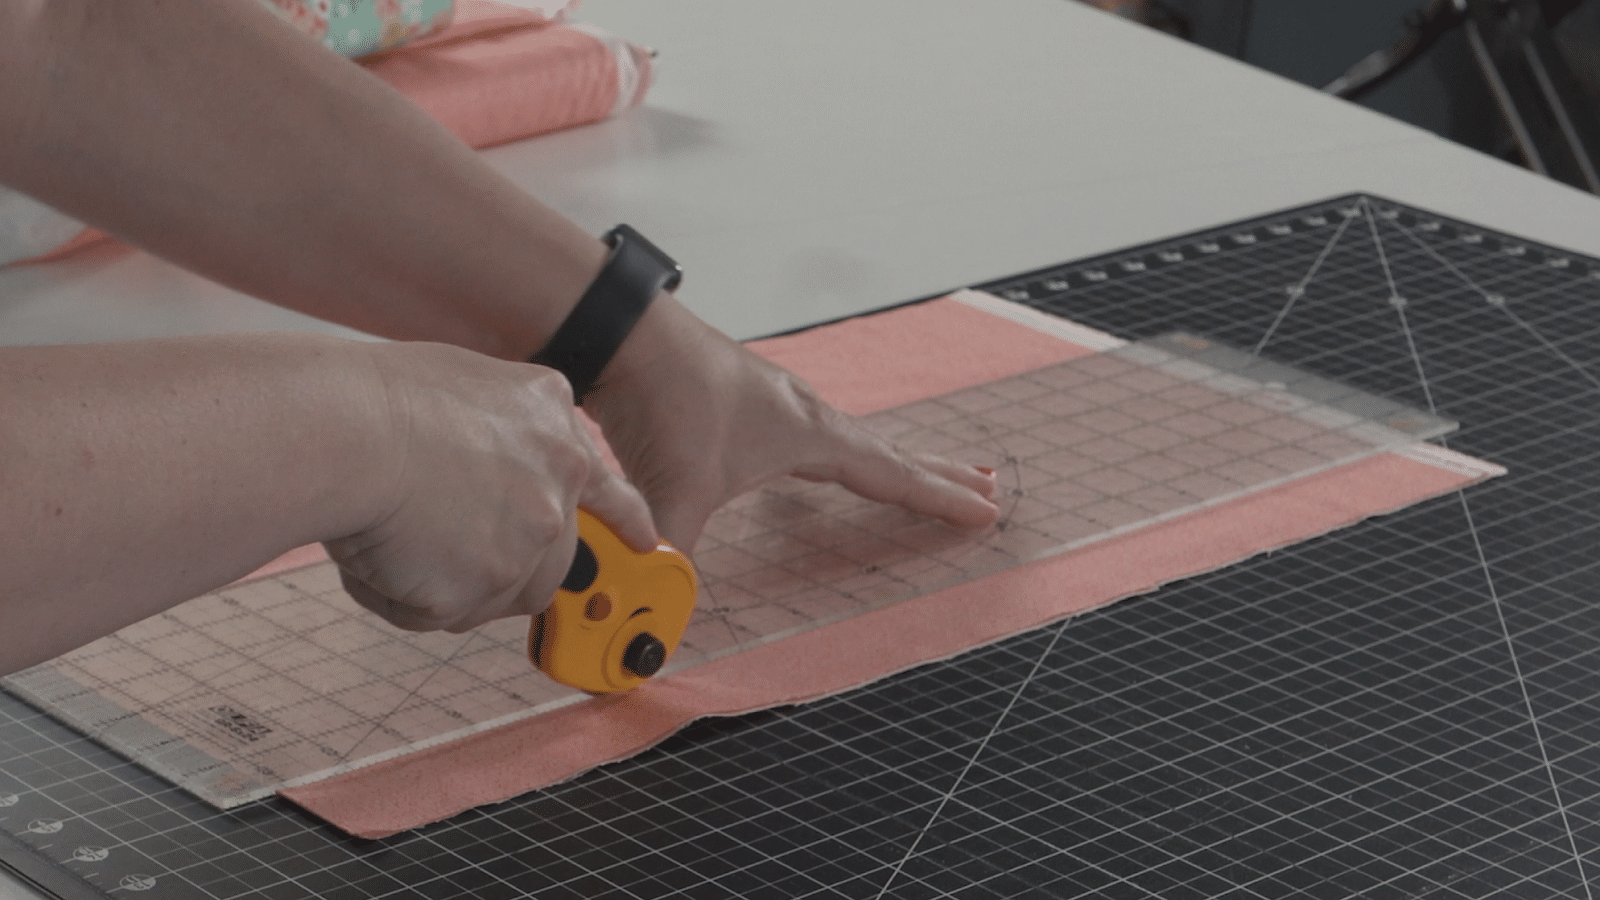
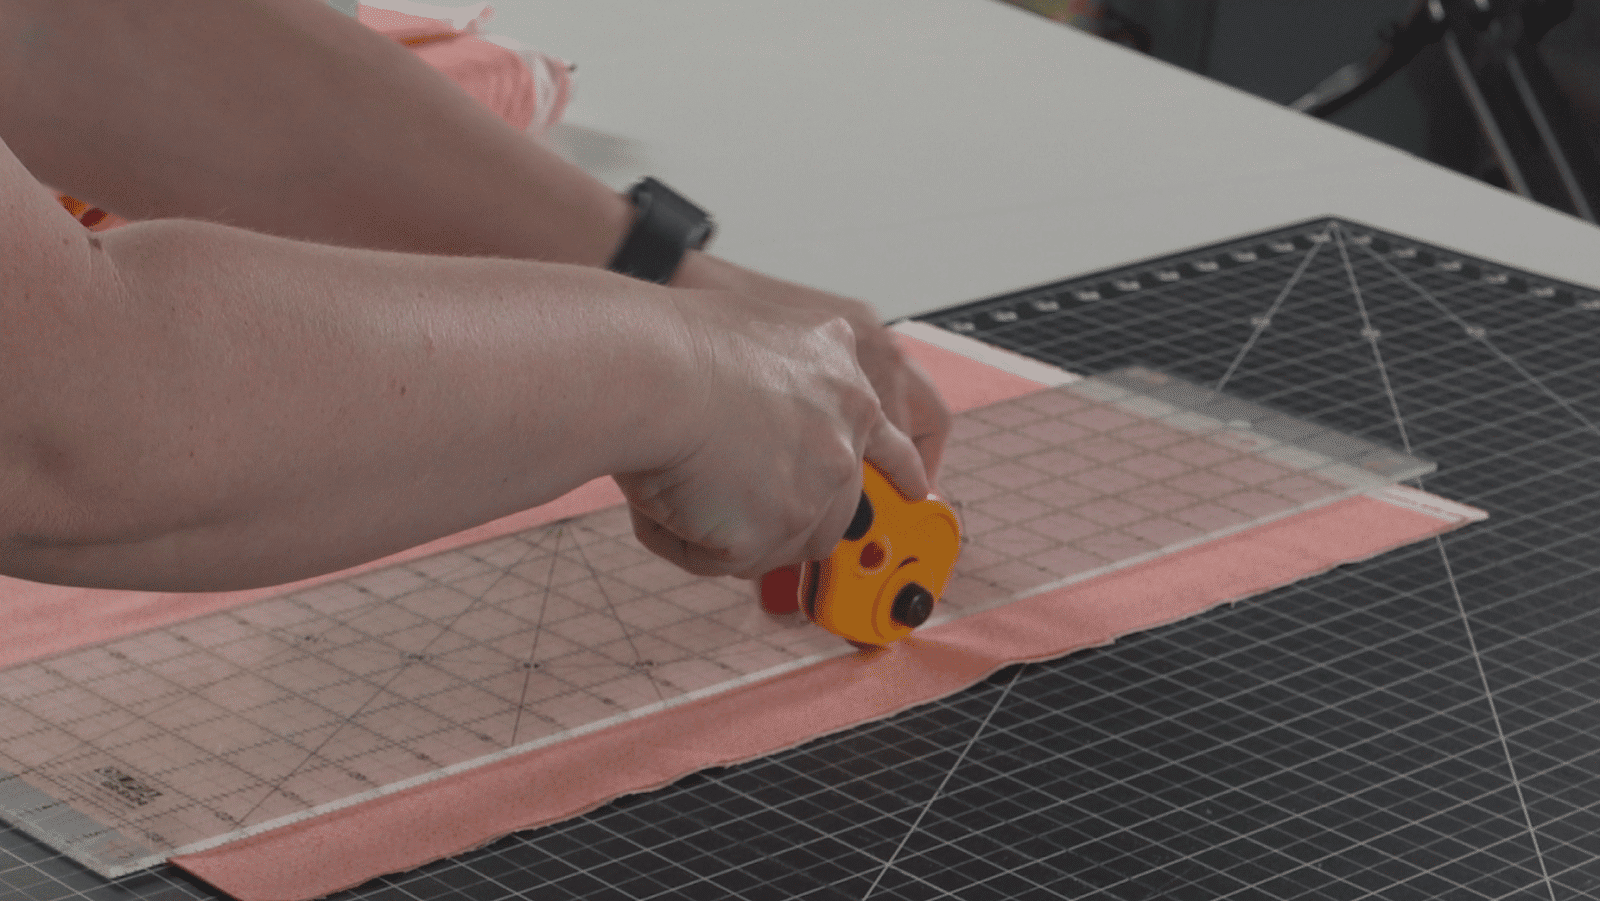
Body Fabric – Take your body fabric and line the edge of your fabric with your ruler, allowing only the edges of your fabric to be free. Take your rotary cutter and trim the edges of your fabric to make sure your piece of fabric is perfectly square.
Trim Fabric – Repeat the same process with the trim fabric; however, trim it down to 2 inches in width.
Cuff Fabric – Repeat the same process with the cuff fabric; however, trim it down to 10 inches in width.
Tips for this step: Refer to your cutting mat for correct measurements. Ensuring your sewing ruler is long enough to go across the length of your project will allow you to inch forward and keep pressure, allotting a smoother cut.
Step 2: Fold & Press (Ironing)
Folding and Pressing your pieces will help you line up the middle of your pieces every time.
Take your trim, cuff, and body fabric and individually fold them in half, and iron the middle crease down. This crease will allow you to line your pieces up.
Making the Cuff:
Step 1: Take your trim piece and iron it in half lengthwise so that you have a 1″ piece with the nice side facing out on the top and bottom. Line up the raw edges of the trim with the top edge of the main print.
Step 2: Take your body fabric and lay it flat on your table right side up (The nice and pretty side should be facing up).
Step 3: Take your trim and line it up on with the raw edges of your body piece right side down (the nice side should be facing the table).
Step 4: Take the cuff piece right side down (the nice side should be facing the table) and line it up with both the trim piece and the body fabric.
Step 5: Take several of your pins and pin the edges together, getting ready to sew.
Step 6: Take your lined and pinned fabrics to your sewing machine and sew them together, creating a nice seam.
Step 7: After sewn your seam, take your fabrics and open the piece by taking the raw (unsewed) edge of the cuff seam and flipping it open will allow it to face right side out (the nice side will be facing up). Take that back to your iron and press it open. (it’ll look something like this)
Step 8: Take your piece (it should all be one piece now) and trim it to 40″ by folding the pillowcase in half and lining up the bottom edge of the pillowcase on the mat, and lining up the fold on the zero-line of the mat. Trim down the pillow case by using the 20″ on the mat.
Hide our raw edges (burrito method)
Step 1: Unfold your project and lay it flat, facing right side up. Take the bottom edge of the body fabric and begin to roll it up toward the other edge (the cuff).
Step 2: Take the rolled piece and find where the edge meets the roll, creating a Burrito and pin it down for you to sew.
Step 3: Take your burrito to your sewing machine and sew along the edges removing the pins as you move along.
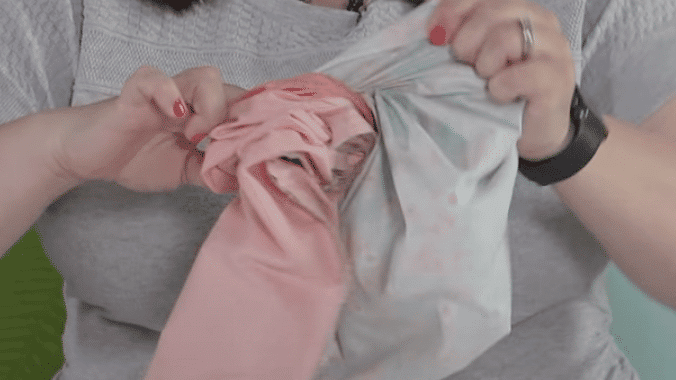
Step 4: After you’ve sewn those edges, grab one end of your burrito, grab the outside layer, cuff it
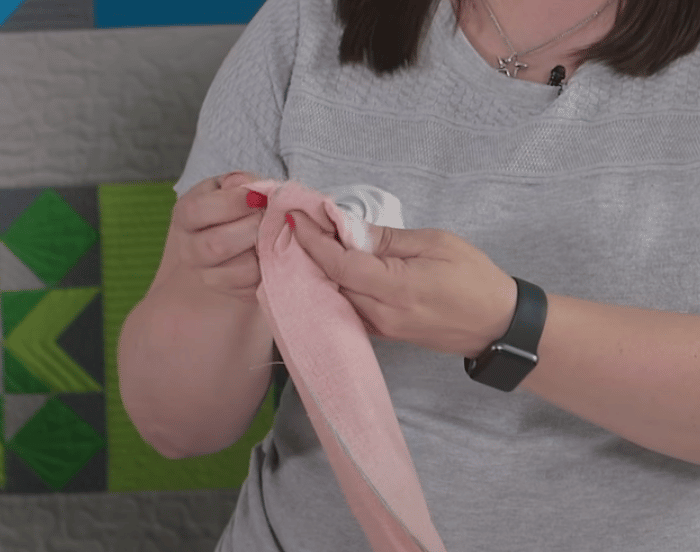
back, revealing the inside of the burrito and pull them out. (This will unravel the burrito showcasing your pillowcase, and revealing the cuff!)
Making the side seams (French seam)
Step 1: Take your fabric facing the wrong side up, take one edge, and bring it to the other. This will look as if you have folded your piece in half with the inside facing inwards. Pin it together.
Step 2: Bring your piece to the sewing machine. To start, reinforce your stitches by stitching a few stitches forward and a few backward (using backstitching) and follow along the rest of the edge usually.
Step 3: Turn your pillowcase inside out and with the wrong side facing outwards. Take the fabric back to your machine and sew along the edge within its seam allowance to hide any raw edges. Repeat the same process from Step 2.
Time to close the pillowcase!
Step 1: With your pillowcase still facing inside out, take the bottom of the pillowcase and switch to a zig-zag stitch on your machine. Repeat the steps from Step 2 to reinforce those stitches.
And just like that, you’re all done! You now have a fun and functional project that allows you to add a nice splash of color to your home or bedroom!
We hope you found this blog post helpful. New to sewing? Check out our youtube channel and watch some of our tutorials!
How to Sew a Pillow Case – Sewing for Beginners
Sewing for Beginners: A Beginners Guide on How to Use a Sewing Machine
Thank you for letting us help you take your inspiration and turn it into a creation!
The Sewing Studio Staff.
The Sewing Studio is proud to offer a wide variety of Baby Lock machines!The Sewing Studio is a full-service sewing store that has been serving the Lubbock, Texas, area for nearly 40 years. We specialize in selling and servicing high-end sewing machines, but we also offer a wide range of classes for sewers of all levels and materials you might need for any type of sewing project. Give us a call at (806) 792-3863 or visit our store to learn more about what we can do for you! Thanks for reading! #SewingStudioTopTips #BabyLockEmbroideryMachines #SewWithBabyLock #IQTechnology #IQLaser #Sewing #SewingMachines #SewingStore #LubbockSewingStore #SewingStore #SewingClassesLubbock

